Skip to content
Transport Fever 3 ToolsUnofficial fan toolkit
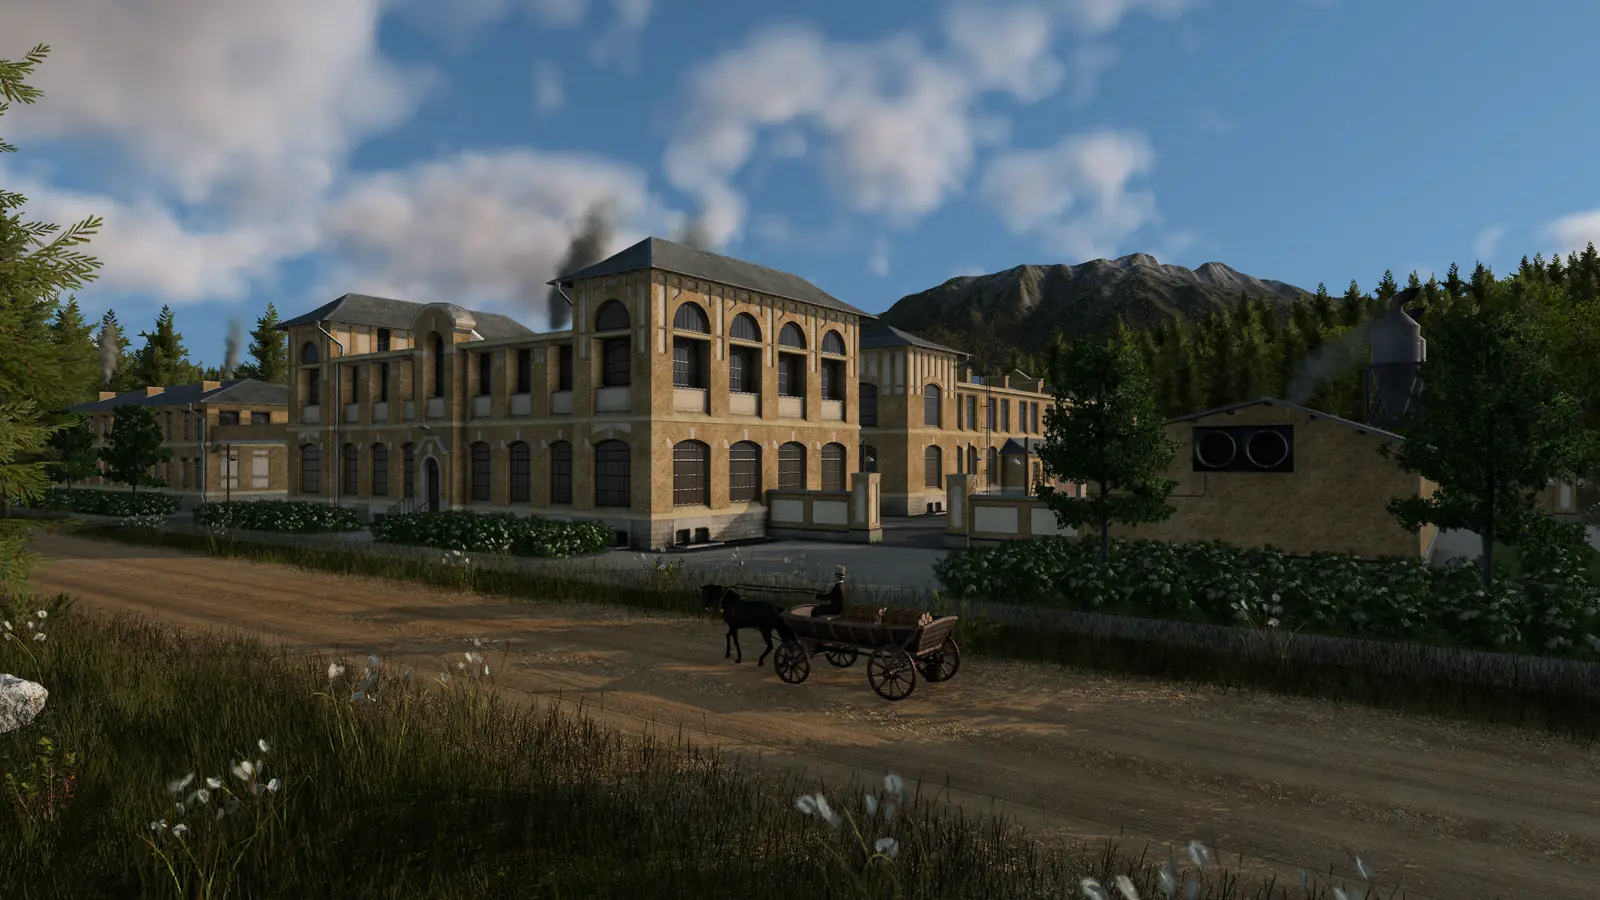
A horse-drawn cart on a dirt road in front of an old brick factory in Transport Fever 3
Screenshot: Transport Fever 3 © Urban Games

Reference

Transport Fever 3 Industries and Cargo Types

Every industry and cargo type in free game mode, with what each industry needs, what it makes, which cargo boosts it and which climate zones it appears in. Each card links to the production chain planner with that cargo already selected.

Last updated Game version: Release version, manual revised 2026-09-28

Four kinds of cargo

  • 12Raw materials

    Mostly come from industries that need no deliveries, such as mines, pits and most farms. Their output is a range that grows with the number of plots the industry has.

  • 11Intermediate products

    Made from other cargo and passed on to the next industry in the chain, for example Chemicals, Dyes, and Fabric.

  • 3Booster products

    Fertilizer, Machines, and Tools raise the output of raw industries when delivered to them.

  • 10End products

    Go to towns: to commercial or industrial districts, depending on what each town asks for. Bigger towns ask for more, and for more complex goods.

One exception: the manual lists Meat as a raw material, but only an industry that needs input cargo makes it (Livestock Farm).

Some cargo has more than one use. Fish, Machines, Meat, and Planks are wanted by towns and are also an input for other industries.

Industries

Showing 32 of 32 industries.

  • Brewery

    Processing
    8Grain+3Glass→8Beverages
    Booster cargo
    None (workers only)
    Climates
    Temperate: listedDry: listedTropical: not listedSubarctic: listed

    Plan Beverages →

  • Brick Works

    Processing

    The manual's cargo table calls it “Bricks Works”.

    4Clay→4Bricks
    Booster cargo
    None (workers only)
    Climates
    Temperate: listedDry: listedTropical: not listedSubarctic: not listed

    Plan Bricks →

  • Canning Factory

    Processing

    The manual's cargo table calls it “Food Factory”.

    (2Fishor2Meat)+1Sheet Metal→2Canned Food
    Booster cargo
    None (workers only)
    Climates
    Temperate: listedDry: listedTropical: listedSubarctic: listed

    Plan Canned Food →

  • Cement Plant

    Processing
    4Stone→2Cement
    Booster cargo
    None (workers only)
    Climates
    Temperate: not listedDry: not listedTropical: listedSubarctic: listed

    Plan Cement →

  • Chemical Plant

    Processing
    6Chemicals→2Dyes+5Plastic
    Booster cargo
    None (workers only)
    Climates
    Temperate: listedDry: listedTropical: listedSubarctic: listed

    Plan Dyes →Plan Plastic →

  • Clay Pit

    Raw industry
    Clay1–16(output range; depends on plots)
    Booster cargo
    Tools
    Climates
    Temperate: listedDry: listedTropical: not listedSubarctic: not listed

    Plan Clay →

  • Coal Mine

    Raw industry
    Coal1–16(output range; depends on plots)
    Booster cargo
    Tools
    Climates
    Temperate: listedDry: listedTropical: listedSubarctic: listed

    Plan Coal →

  • Cotton Farm

    Raw industry
    Wool1–12(output range; depends on plots)
    Booster cargo
    Fertilizer
    Climates
    Temperate: listedDry: not listedTropical: listedSubarctic: not listed

    Plan Wool →

  • Crop Farm

    Raw industry

    The manual's cargo table calls it “Farm”.

    Grain1–24+Vegetables1–16(output range; depends on plots)
    Booster cargo
    Fertilizer
    Climates
    Temperate: listedDry: listedTropical: listedSubarctic: listed

    Plan Grain →Plan Vegetables →

  • Fishing Grounds

    Raw industry
    Fish1–12(output range; depends on plots)
    Booster cargo
    Tools
    Climates
    Temperate: listedDry: not listedTropical: listedSubarctic: listed

    Plan Fish →

  • Furniture Factory

    Processing
    4Planks+1Glass→2Furniture
    Booster cargo
    Machines (industries table only)
    Climates
    Temperate: listedDry: listedTropical: listedSubarctic: listed

    Plan Furniture →

  • Glass Works

    Processing
    4Sand→2Glass
    Booster cargo
    None (workers only)
    Climates
    Temperate: listedDry: listedTropical: listedSubarctic: listed

    Plan Glass →

  • Iron Ore Mine

    Raw industry
    Iron Ore1–16(output range; depends on plots)
    Booster cargo
    Machines (cargo table only)
    Climates
    Temperate: listedDry: listedTropical: listedSubarctic: listed

    Plan Iron Ore →

  • Livestock Farm

    Processing
    7Grain→3Meat+4Wool
    Booster cargo
    Machines (industries table only)
    Climates
    Temperate: listedDry: listedTropical: listedSubarctic: listed

    Plan Meat →Plan Wool →

  • Logging Camp

    Raw industry
    Logs1–8(output range; depends on plots)
    Booster cargo
    Machines (cargo table only)
    Climates
    Temperate: listedDry: listedTropical: listedSubarctic: listed

    Plan Logs →

  • Machine Factory

    Processing
    7Steel+4Plastic→7Machines
    Booster cargo
    None (workers only)
    Climates
    Temperate: listedDry: listedTropical: listedSubarctic: listed

    Plan Machines →

  • Oil Platform

    Raw industry
    Crude Oil1–4(output range; depends on plots)
    Booster cargo
    Tools
    Climates
    Temperate: listedDry: listedTropical: listedSubarctic: listed

    Plan Crude Oil →

  • Oil Refinery

    Processing
    4Crude Oil→2Fuel+1Fertilizer+4Chemicals
    Booster cargo
    None (workers only)
    Climates
    Temperate: listedDry: listedTropical: listedSubarctic: listed

    Plan Fuel →Plan Fertilizer →Plan Chemicals →

  • Oil Well

    Raw industry
    Crude Oil1–6(output range; depends on plots)
    Booster cargo
    Machines
    Climates
    Temperate: listedDry: listedTropical: listedSubarctic: listed

    Plan Crude Oil →

  • Paper Mill

    Processing
    4Sawdust→2Paper
    Booster cargo
    None (workers only)
    Climates
    Temperate: not listedDry: not listedTropical: not listedSubarctic: listed

    Plan Paper →

  • Printing Press

    Processing
    4Paper+2Dyes→4Books
    Booster cargo
    None (workers only)
    Climates
    Temperate: not listedDry: not listedTropical: not listedSubarctic: listed

    Plan Books →

  • Quarry

    Raw industry
    Stone1–16(output range; depends on plots)
    Booster cargo
    Tools
    Climates
    Temperate: listed(Dry): listed in parenthesesTropical: listedSubarctic: listed

    Plan Stone →

  • Rubber Farm

    Raw industry
    Rubber1–32(output range; depends on plots)
    Booster cargo
    Fertilizer
    Climates
    Temperate: not listedDry: not listedTropical: listedSubarctic: not listed

    Plan Rubber →

  • Sand Excavator

    Raw industry
    Sand1–8(output range; depends on plots)
    Booster cargo
    Machines
    Climates
    Temperate: listedDry: not listedTropical: listedSubarctic: listed

    Plan Sand →

  • Sand Pit

    Raw industry
    Sand1–8(output range; depends on plots)
    Booster cargo
    Tools
    Climates
    Temperate: listedDry: listedTropical: listedSubarctic: listed

    Plan Sand →

  • Saw Mill

    Processing
    4Logs→4Sawdust+8Planks
    Booster cargo
    None (workers only)
    Climates
    Temperate: listedDry: listedTropical: listedSubarctic: listed

    Plan Sawdust →Plan Planks →

  • Steel Mill

    Processing
    6Iron Ore+6Coal→4Sheet Metal+3Steel
    Booster cargo
    None (workers only)
    Climates
    Temperate: listedDry: listedTropical: listedSubarctic: listed

    Plan Sheet Metal →Plan Steel →

  • Textile Factory

    Processing
    4Fabric+2Dyes→3Clothes
    Booster cargo
    None (workers only)
    Climates
    Temperate: listedDry: listedTropical: listedSubarctic: listed

    Plan Clothes →

  • Tire Factory

    Processing
    4Rubber→2Tires
    Booster cargo
    None (workers only)
    Climates
    Temperate: not listedDry: not listedTropical: listedSubarctic: not listed

    Plan Tires →

  • Tool Factory

    Processing
    4Planks+2Plastic→5Tools
    Booster cargo
    None (workers only)
    Climates
    Temperate: listedDry: listedTropical: listedSubarctic: listed

    Plan Tools →

  • Vehicle Factory

    Processing
    1Tires+4Sheet Metal+1Machines→1Vehicles
    Booster cargo
    None (workers only)
    Climates
    Temperate: listedDry: listedTropical: listedSubarctic: listed

    Plan Vehicles →

  • Weaving Mill

    Processing
    4Wool→4Fabric
    Booster cargo
    None (workers only)
    Climates
    Temperate: listedDry: listedTropical: listedSubarctic: listed

    Plan Fabric →

Cargo types

Showing 36 of 36 cargo types.

How cargo works in Transport Fever 3

Boosting production

Any industry produces more when a passenger line brings enough workers to it, often enough. When workers stop arriving, the boost stops too. Raw industries have a second option: deliveries of their booster cargo. The boost uses up that cargo from the industry's input storage and ends when there is not enough left.

Output storage and lost cargo

Finished cargo waits at the industry until a vehicle on a line that is set to load it comes by. You decide where it goes. If nobody collects it and the output storage is full, the industry keeps producing and the cargo that does not fit is destroyed, so an unserved by-product is simply lost.

New industries and closures

New industries appear when demand rises far enough or when a cargo type is demanded for the first time. An industry you do not own is marked for closure when it has not produced, consumed or shipped anything for 10 years (unless industry closure is set to Never). It then shows a 730-day countdown; while the game calendar is paused, the countdown is shown in real time instead. Any production, consumption or shipment before the end saves it.

Climate zones

Maps use one of four climates: Temperate, Dry, Tropical, and Subarctic. 11 of the 32 industries are only listed for some of them, which decides which chains you can build. The home page shows which end products each climate can make.

What towns ask for

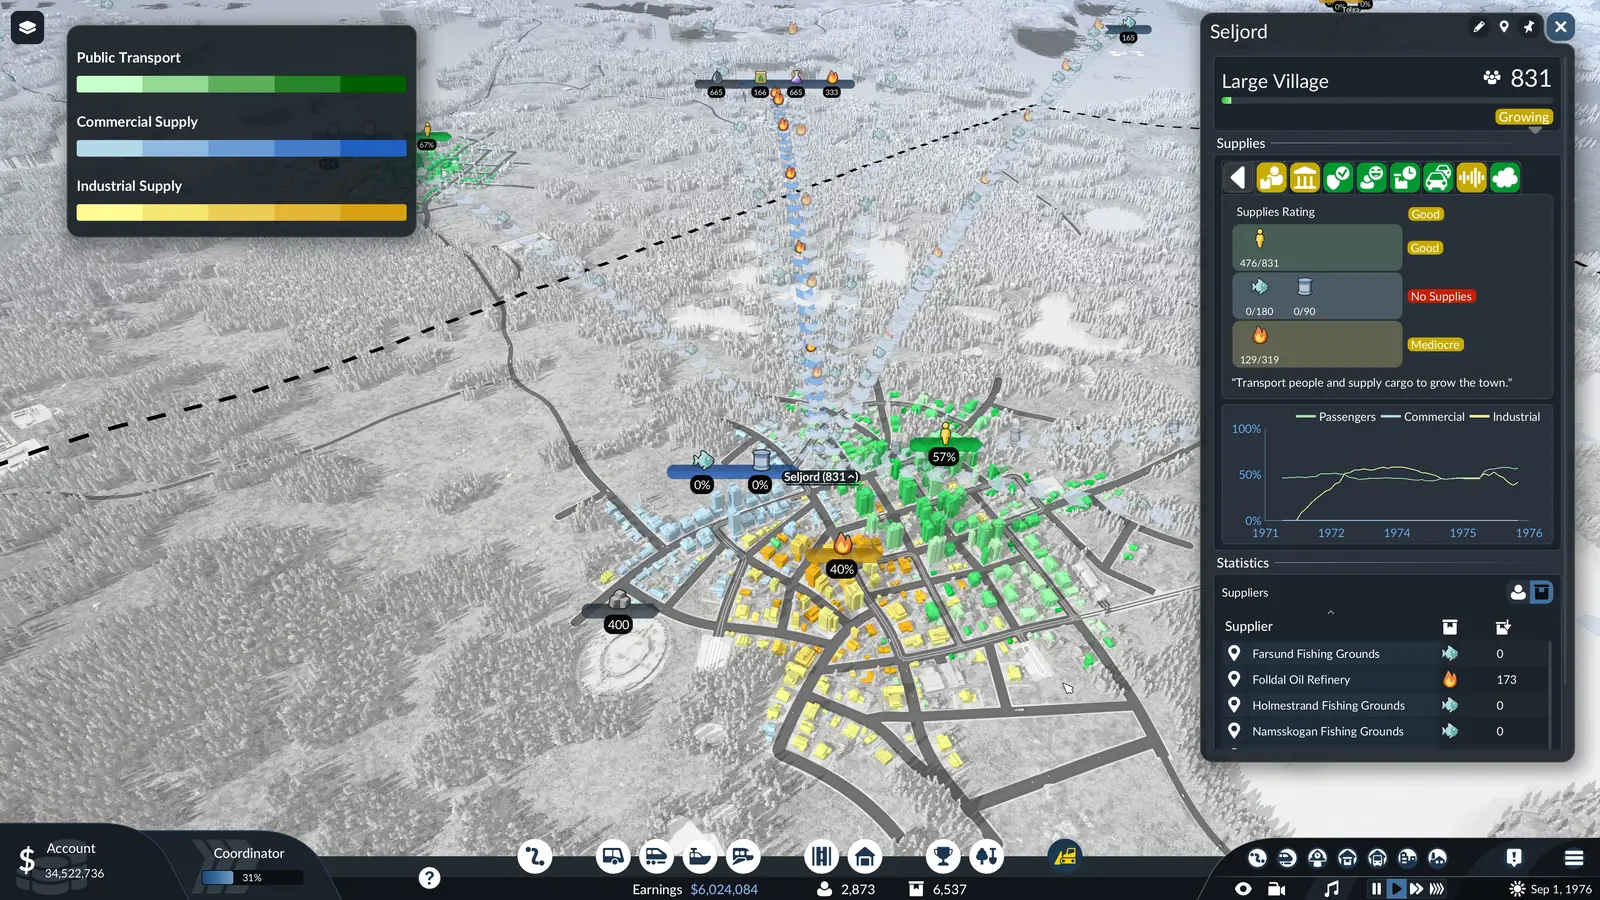
Transport Fever 3 supply overlay on a snowy town, colored by public transport, commercial supply and industrial supply, with the town window listing its suppliers
A town's supply in the game: the overlay shades the town by public transport, commercial supply and industrial supply, and the town window lists the industries that deliver to it. Screenshot: Transport Fever 3 © Urban Games

Where the official manual disagrees with itself

The manual describes cargo in two tables: one per cargo type and one per industry. They do not always match. We show both versions and do not pick one for you.

  • Industry names. The cargo table uses different names for three industries: “Bricks Works” for Brick Works, “Farm” for Crop Farm, and “Food Factory” for Canning Factory. This site uses the industries table names.
  • Who makes Fertilizer. The cargo table names Chemical Plant as the maker. In the industries table, the production rule of Chemical Plant has no Fertilizer output; the rule that makes it belongs to Oil Refinery. The planner uses the production rules because only they give amounts.
  • Who uses Grain. Both tables list Livestock Farm. Only the industries table lists Brewery.
  • Who uses Machines. Both tables list Vehicle Factory, Oil Well, and Sand Excavator. Only the industries table lists Furniture Factory and Livestock Farm. Only the cargo table lists Logging Camp and Iron Ore Mine. The manual's own text says booster cargo is for raw industries, yet Furniture Factory and Livestock Farm need input cargo to produce.
  • Quarry in Dry. The industries table marks it with a check mark in parentheses. The manual does not say what the parentheses mean.

Frequently asked questions

How many cargo types and industries are in Transport Fever 3?

The official manual lists 36 cargo types and 32 industries for free game mode: 12 raw materials, 11 intermediate products, 3 booster products and 10 end products. Some campaign missions add special cargo and industries that are not in that list.

Which industries only appear in some climate zones?

According to the manual's industries table, these industries are not listed for all four climates: Brewery (Temperate, Dry, Subarctic), Brick Works (Temperate, Dry), Cement Plant (Tropical, Subarctic), Clay Pit (Temperate, Dry), Cotton Farm (Temperate, Tropical), Fishing Grounds (Temperate, Tropical, Subarctic), Paper Mill (Subarctic), Printing Press (Subarctic), Rubber Farm (Tropical), Sand Excavator (Temperate, Tropical, Subarctic), and Tire Factory (Tropical). The Quarry is marked for Dry with a check mark in parentheses, which the manual does not explain.

What happens when an industry’s output storage is full?

Production does not stop. The industry keeps producing, and any cargo that no longer fits in its output storage is destroyed. Cargo only leaves an industry when a vehicle on a line set up for that cargo picks it up.

How do I increase an industry’s production?

Any industry produces more when a passenger line brings enough workers to it often enough. Raw industries can also be boosted with booster cargo (Fertilizer, Machines, or Tools); the booster uses up these deliveries and stops when they run out. Raw industries also grow by adding plots when they are served well, so keep space around them free.

Why did an industry close in Transport Fever 3?

An industry that you do not own can be marked for closure when it has not produced, consumed or shipped anything for 10 years, unless industry closure is set to Never. It then gets a 730-day countdown. If it produces, consumes or ships goods again before the countdown ends, it stays.

Source

All industry and cargo data on this page comes from the Industries and Cargo page of the official Transport Fever 3 manual (revised September 28, 2026), checked on October 5, 2026. Covers free game mode only. Campaign missions can add special cargo and industries that the manual leaves out. Found something that looks different in game? Tell us.